Today I going to show you how to took image from camera or gallery using EasyImage Library. This library pretty easy to use. You don't need to write much code (like manual way), because this library has function that specific open image from camera and open from gallery.
Let's start the steps one by one ..
Library
In this project, I used some libraries. Please compile the following libraries in build.gradle (Module : app) :
compile 'com.github.jkwiecien:EasyImage:1.3.1'
compile 'com.github.bumptech.glide:glide:3.7.0'
On your second gradle, put the following code in build.gradle(Project:ProjectName)
allprojects {
    repositories {
        jcenter()
        maven { url 'https://jitpack.io' } //add this line
    }
}
EasyImage is the library for open image from camera or gallery, and Glide is a library that used to load image.
AndroidManifest
In order to able to access and take image/photo from Gallery, then you need a permission on your AndroidManifest.xml :
<uses-permission android:name="android.permission.WRITE_EXTERNAL_STORAGE"/>
Layout
The layout is not to complicated, I just uses one layout that contains button load image, imageview for display image and textview for display the path of the image. Give name as activity_main.xml and paste the following code :
The result look like the following Figure 1 :
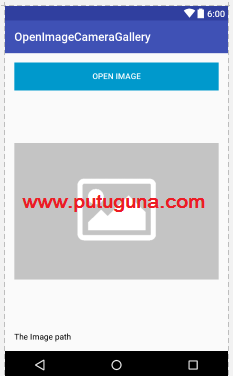 |
| Gambar 1 |
File Java
I have created the method for open Camera and Gallery when button Open Image has clicked, with hope you easy to understand the steps. This java file named as MainActivity.java, paste the following code :
The result will look like the following giff :

That's all the tutorial about how to take image from gallery and camera using library EasyImage. Hope it useful.
EmoticonEmoticon